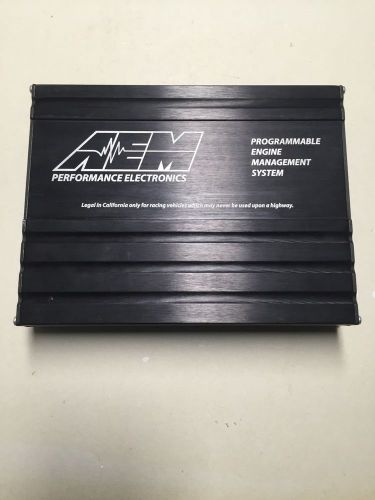
Aem 30-1600 Ems 240sx / Sentra / Pulsar / Nx Altima / Blue Bird / G20 1989-1994 on 2040-parts.com
Los Angeles, California, United States
|
Brand:AEM
Warranty:No
Manufacturer Part Number:30-1600
Country/Region of Manufacture:United States
Surface Finish:some scratches on the case
Electronics for Sale
Michelin Challenge Design announces 2007 theme and call for entriesWed, 01 Feb 2006At the 2006 North American International Auto Show, Michelin Challenge Design announced its theme for the 2007 Challenge. Michelin Challenge Design will ask entrants to explore the future of transportation design using safety as the focus and inspiration. For 2007, the challenge is to design a vehicle for the North American market that enhances overall road safety, incorporating safety features for the occupants, but also for others who share the road. Legendary photographer Jim Marshall to receive Trustees AwardMon, 20 Jan 2014We're big Jim Marshall fans around here. We've loved his music photography for years. Looking for reasons to run his art, we hired Marshall to shoot behind the scenes at the 2005 Indy 500 (Salute to Tradition, June, 20, 2005), and we had him shoot the Nissan GT-R's creation in 2007 (Bringing a Star to Life, 12/24/2007). Toyota Prius+: A Party Seven PriusTue, 01 Mar 2011The Toyota Prius+ – the 2 seater Prius Toyota are bashing on with the extension of the Prius brand as well as the extension of the hybrid drive train in to their regular model range. But probably the big Geneva news on the Toyota hybrid front is the public debut of the Toyota Prius+, the European version of the Prius V we saw at Detroit and the first Prius to offer enough seats to party in. Yes, this is a Prius People Carrier. 2040Parts.com © 2012-2024. All Rights Reserved. Designated trademarks and brands are the property of their respective owners. Use of this Web site constitutes acceptance of the 2040Parts User Agreement and Privacy Policy. 0.277 s, 11214 u |
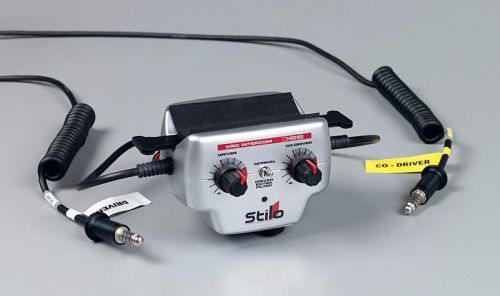 Stilo wrc amplifier intercom sloab0200
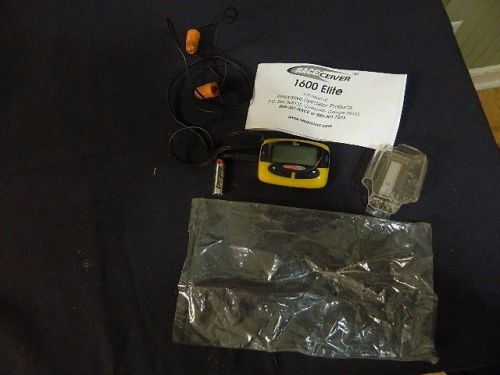 Raceceiver 1600
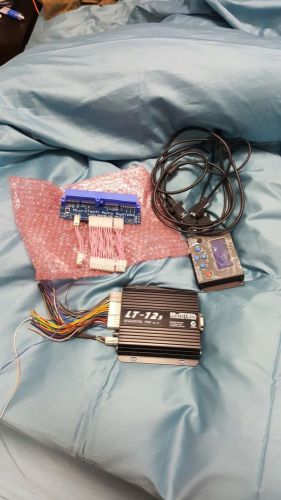 Microtech lt12s rb25 rb26 adapter & handset 4,6 cylinder & rotary ecu
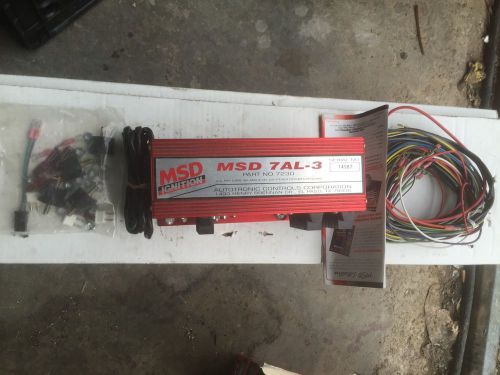 Msd 7al-3 used 19 passes went with different box working when removed
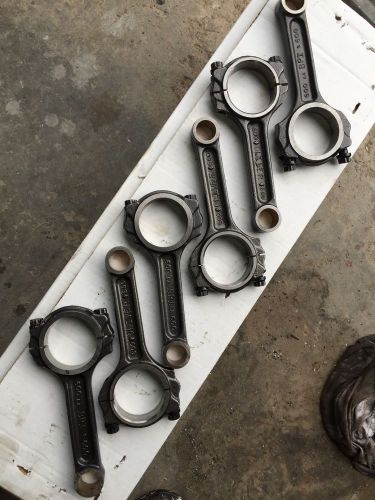 Oliver 6in. rods used good condition
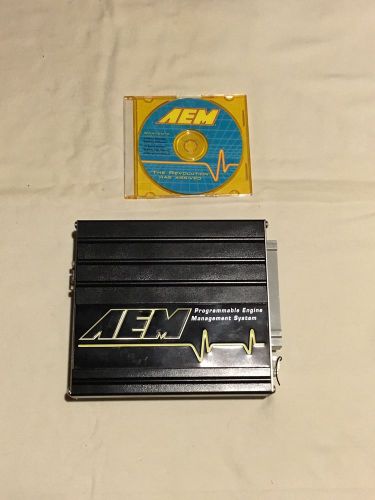 79-93 94 95 mustang aem ems ecu fast xfi big stuff3 bs3 anderson pms