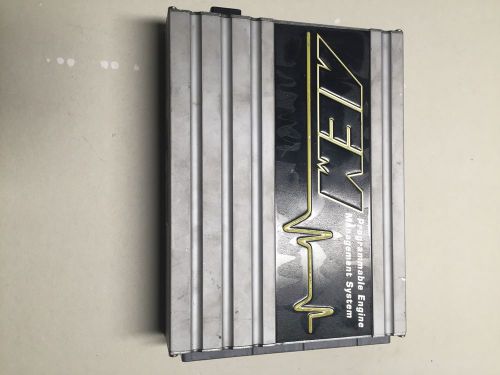
Aem Series 1 Ems Ecu 30-1052 Stand Alone Engine Management System Honda S2000 on 2040-parts.com
Los Angeles, California, United States
|
Brand:AEM
Warranty:No
Manufacturer Part Number:30-1052
Country/Region of Manufacture:United States
Surface Finish:some scratches on the case
Electronics for Sale
Saab owners offered free replacement badgesWed, 12 Mar 2014Ever thought your old Saab would look fantastic if it weren’t for that chipped, faded and slightly grotty looking badge on the bonnet? Well good news – Saab Parts is offering free replacement badges for all owners of Saab vehicles. On Bing: see pictures of Saabs Find out how much a used Saab costs on Auto Trader Not only do you get a free badge, Saab Parts will also fit it for you and provide a free vehicle condition report outlining any issues with your car that may need attention. How celebrities stay safe in their cars with 007-style gadgetsWed, 30 Oct 2013You’re rich, famous and important enough to think you need a little more protection from your car than the standard anti-intruder alarm. What do you do? Buy a heavily armoured mobile fortress from US car modifiers ‘Texas Armoring Corporation’, of course. Top Gear Tonight: McLaren 12C, Ferrari 458, Audi R8 V10 Convertibles & Benedict Cumberbatch SIARPCSun, 14 Jul 2013McLaren 12C Spider, Ferrari 458 Spider & Audi R8 V10 Spyder (pictured) on Top Gear in Spain This weekend may be petrolhead heaven at the Goodwood Festival of Speed, but FoS visitors can have an extra fix of high octane fuel when they get home tonight with episode 3 of series 20 of Top Gear. Tonight, it’s a Top Gear road trip, and this time they’re quite close to home – Spain. It seems the mission is to help Spain’s struggling economy by taking a trio of the very best convertible supercars to the Iberian Peninsula – the McLaren 12C Spider (not the MP4-12C any more), the Ferrari 458 Spyder and the Audi R8 V10 Spyder. 2040Parts.com © 2012-2024. All Rights Reserved. Designated trademarks and brands are the property of their respective owners. Use of this Web site constitutes acceptance of the 2040Parts User Agreement and Privacy Policy. 0.104 s, 11206 u |
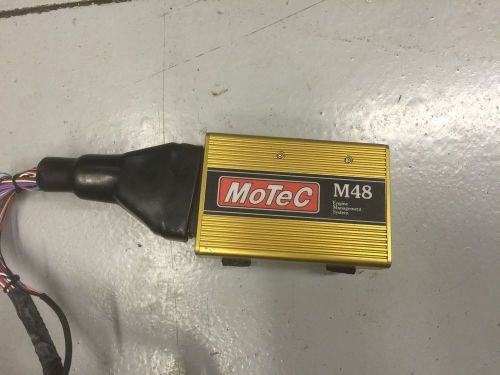 Motec m48 ecu
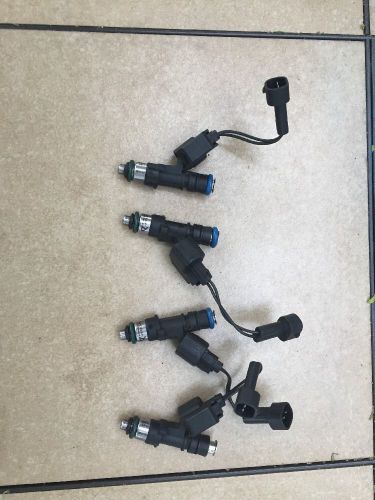 Injector dynamics id1000 with adapters
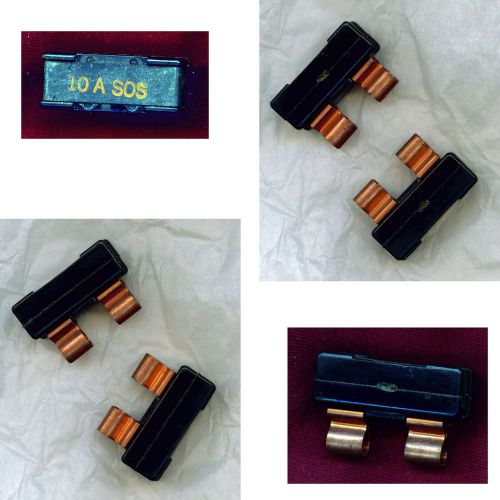 2 12 volt 10 amp automotive circuit breakers from the early 1980s "10 a sos"
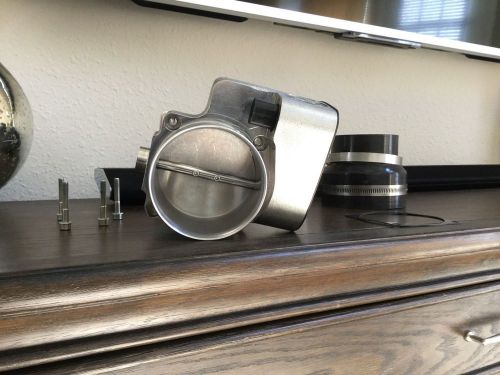 Arrington 2005-2010 dodge hemi challenger charger 5.7 6.1l 90mm throttle body
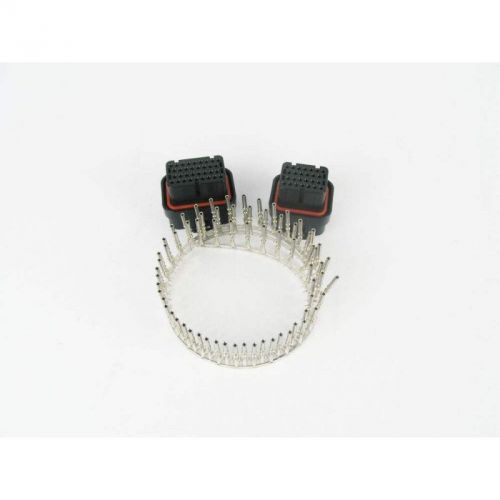 Motec 60 pin connector kit
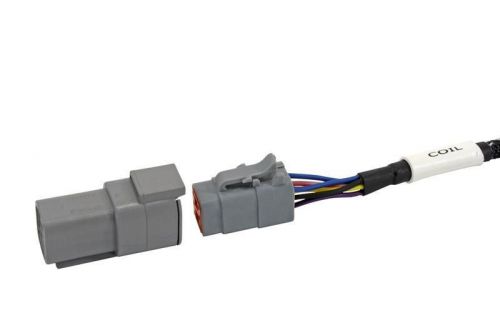 Aem infinity honda coil plug-n-play harness 30-3501-00