Read end for product detail
Read and
understand these instructions BEFORE attempting to install this product.
1) Removing the
Stock Engine Control Unit
a) Access the stock Engine Control
Unit (ECU). The location of the ECU is behind the
driver side kick panel.
b) Carefully disconnect the wiring
harness from the ECU. Avoid excessive stress or
pulling on the wires, as this may
damage the wiring harness. Some factory ECUs
use a bolt to retain the factory
connectors, and it must be removed before the
harness can be disconnected. There
may be more than one connector, and they
must all be removed without damage
to work properly with the AEM ECU. Do not
cut any of the wires in the factory
wiring harness to remove them.
c) Remove the fasteners securing
the ECU to the car body, and set them aside. Do
not destroy or discard the factory
ECU, as it can be reinstalled easily for street use
and troubleshooting.
2) Installing and
Routing the UEGO Sensor (30-1052U Only)
a) Remove the forward most O2
sensor and replace it with the supplied UEGO
sensor.
b) Connect the sensor and route the
wire through the firewall to the EMS being careful
in staying away from heat and the
suspension.
3) Installing the
AEM Engine Management System.
a) Plug the factory wiring harness
into the AEM EMS and position it so the wires are
not pulled tight or stressed in any
manner. Secure the EMS with the provided
Velcro fasteners.
b) Plug the comms cable into the
EMS and into the PC (not supplied).
c) Install the supplied AEM CD and
open the AEMPro software.
d) Turn the ignition “on” but do
not attempt to start the engine.
e) Go to: “ECU | Send New
Calibration”. Upload the base calibration file (.cal) that
most closely matches the vehicle’s
configuration to be tuned. Full details of the test
vehicle used to generate each map
can be found in the “Notes” section in the
“Setup” window of the
AEMPro software. The base maps can be found in the
Honda folder located in: “My
Computer | Local Disk (C:) | Program Files | AEM |
AEMPro | Startup
Calibrations”
f) Set the throttle range: Select
the “Configure” drop down menu, then “ECU Setup |
Set Throttle
Range” and
then follow the instructions given on the screen.
g) Verify the ignition timing:
Select the “Configure” drop down menu, then “ECU Setup
| Set Ignition”. Use a timing
light and compare the physical engine timing to the
parameter “Ignition Timing” displayed.
Use the “Advance/Retard” buttons to make
the timing number match.
h) Calibrate the lambda sensor
channel: With the ignition “on” and the sensor
unplugged, change the “O2 #1
Gain” (“Setup | Sensors | Oxygen Sensor | Oxygen
Sensor #1 |
Options - O2 Sensor #1”) until the “O2 #1 Volts” parameter displays
3.94 Volts (+/- 0.02 Volts). This
should yield an “O2 #1 Gain” near 1.28. If using the
non-UEGO 30-1052, the “O2 #1
Gain” should be near 1.0.
i) Set the appropriate UEGO
calibration (30-1052U Only): Enter the calibration on
page 8 of this manual into Setup
| Sensors | Oxygen Sensors | Oxygen Sensor #1 |
O2 Sensor #1 Cal
Table.
Note, this is different than that used for the external AEM
UEGO sensor.
4) Ready to begin
tuning the vehicle.
a) Note: This calibration needs to
be properly tuned and is not recommended for
street use. NEVER TUNE THE VEHICLE WHILE DRIVING.
Product detail:
Connection Diagram for EMS P/N 30-1052 can be found on your
computer after the software has been installed. Instruction location:
C:\Program Files
(x86)\AEM\AEMPro\Instructions
Description of Plug n Play means the Unit plugs into your existing
harness. That's it! You still need to install software on your lap top (AEM
Pro-Can be found on AEM website for free) and load a calibration as well as set
it up and tune.
Warning! Do not buy this if you have no experience with standalone
engine management systems. A professional should be involved in the install and
setup process.
Unit has been tested and all hardware revisions and modifications
are up to date. Communications are responding correctly. Removing my calibration and
loading a base calibration.
Warranty
is 30 days with me for defects and faulty hardware only. Damage to unit will
have to be returned to me and I will sent out to have repaired to shop for a
$150 fee. Please read the connection diagram instructions and verify everything
is correct on your side.
Free shipping is to lower 48 states Only
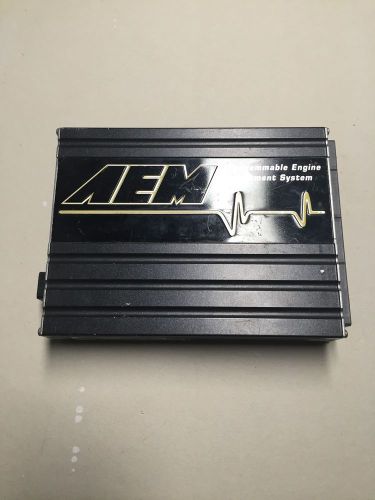
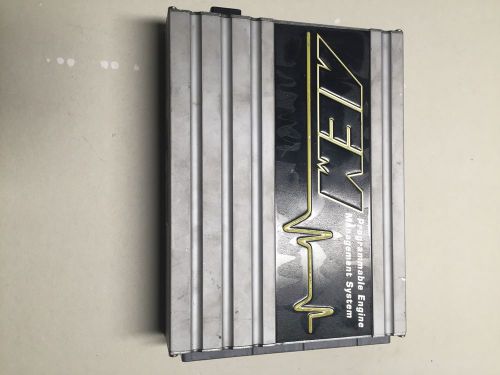 Aem series 1 ems ecu 30-1052 stand alone engine management system honda s2000
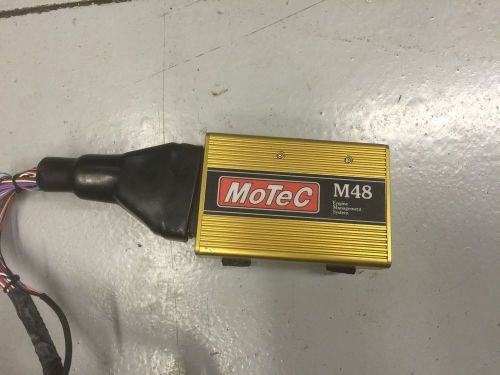 Motec m48 ecu
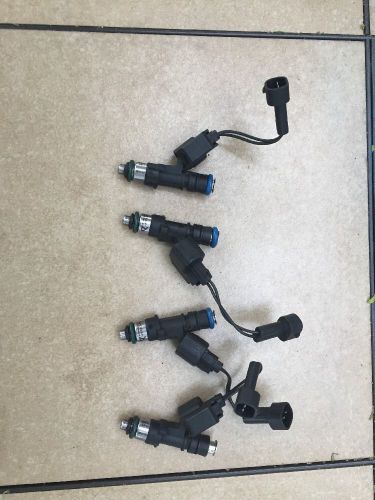 Injector dynamics id1000 with adapters
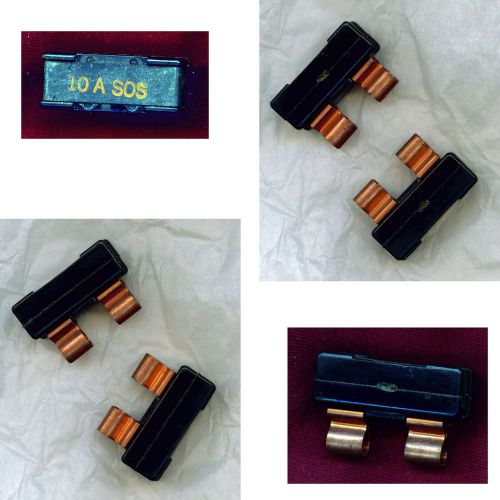 2 12 volt 10 amp automotive circuit breakers from the early 1980s "10 a sos"
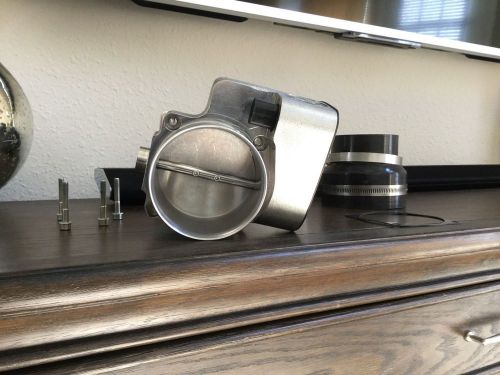 Arrington 2005-2010 dodge hemi challenger charger 5.7 6.1l 90mm throttle body
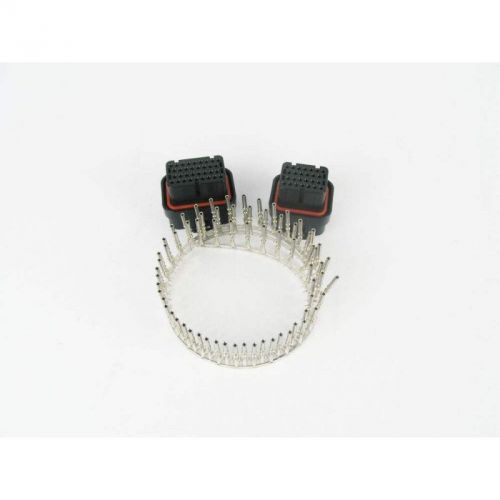 Motec 60 pin connector kit