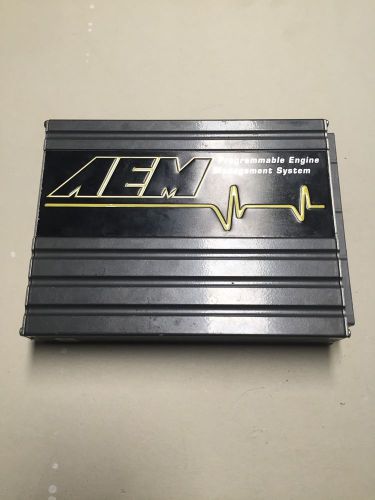
Aem Ems Ecu S1 30-1052 Stand Alone Engine Management System Honda S2000 on 2040-parts.com
Los Angeles, California, United States
|
Brand:AEM
Warranty:No
Manufacturer Part Number:30-1052
Country/Region of Manufacture:United States
Surface Finish:some scratches on the case
Electronics for Sale
MG Zero Concept at BeijingSat, 24 Apr 2010The MG Zero Concept has been revealed at the Beijing Motor Show It’s good to see a new MG. True, it may not be everyone’s idea of where MG should be, but at least Morris Garages lives to die another day and stays alive as a marque, which is more than you can say for Riley or Hillman or Humber or Triumph or Rover or Austin or Morris or Alvis or… What this may be is the MG2 we snapped being loaded on to a trailer in China a few weeks ago, but there is so little detail from MG in the press release on the MG Zero concept they might just as well not have bothered. If we’re going to get treated to a new MG – concept or not – it would sort of help if we got some detail. CAR reader interviews Aston Martin chairman David Richards (2012)Mon, 11 Jun 2012It's been a busy five years for Aston Martin, thanks to divorce from Ford, worldwide recession, products such as the Cygnet and Lagonda, and an intense racing programme. CAR reader and Aston Martin Owners' Club member Garry Taylor had a one-to-one chat with Aston chairman David Richards to discuss the recent past, present and future of one of Britain's best-loved brands. Read on for his in-depth interview. Citroen DS Inside: full photos, analysis of new DS3Fri, 29 May 2009By Tim Pollard First Official Pictures 29 May 2009 11:00 Citroen has shown off its new DS Inside concept in more detail – providing a glimpse at the company’s plans for its ‘near premium’ models. It’s our first view inside the DS’s cabin and more details are emerging of Citroen’s strategic move upmarket in 2010. Although still officially a concept car, the DS Inside is virtually a carbon copy of the production DS3, the first of the new models named after the legendary 1950s déesse. 2040Parts.com © 2012-2024. All Rights Reserved. Designated trademarks and brands are the property of their respective owners. Use of this Web site constitutes acceptance of the 2040Parts User Agreement and Privacy Policy. 0.039 s, 11215 u |
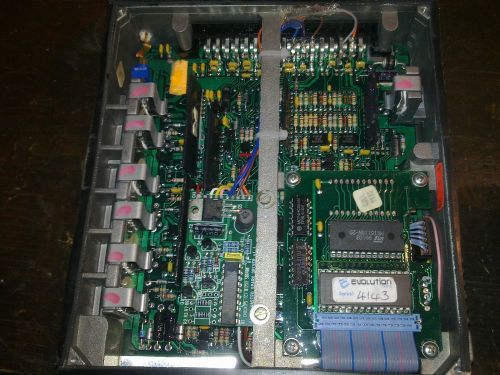 Ford escort cosworth l8 ecu with wasted spark board
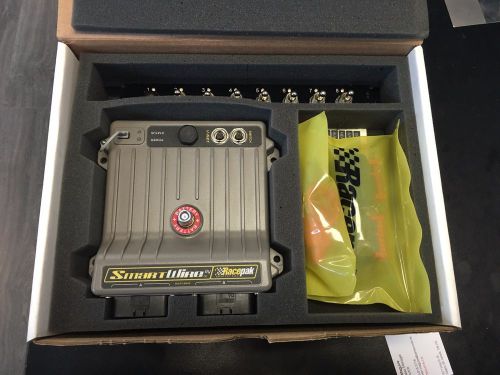 Racepak smartwire, with can switch panel and haltech interface module new
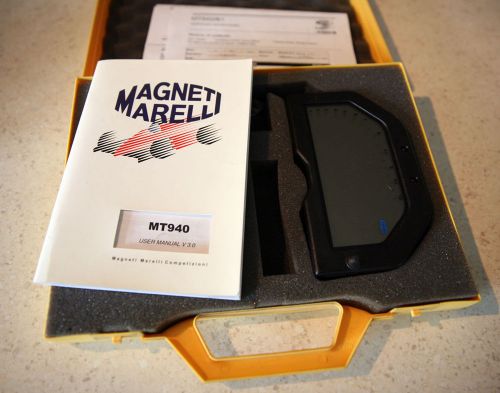 Autosport, bike dashboard, digital meter, gauge, display magneti marelli mt940
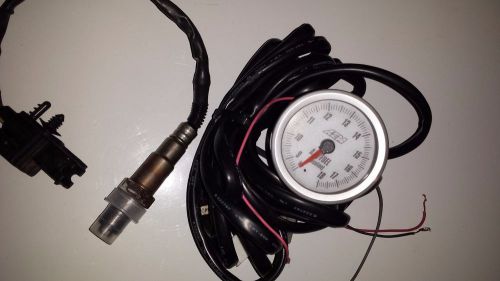 Aem uego wideband afr gauge
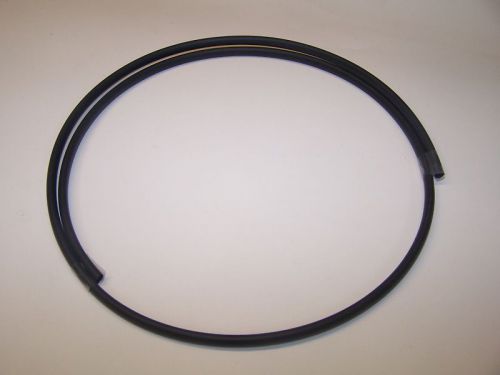 1 foot of 3/16" black 2:1 heat shrink tube wire, wiring shrinkable cover wiring
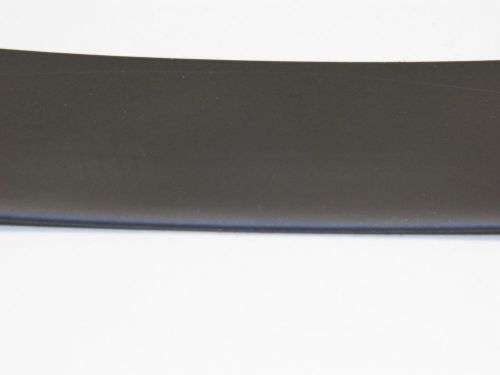 1 foot of 1" black 2:1 heat shrink tube wire, wiring shrinkable cover wiring