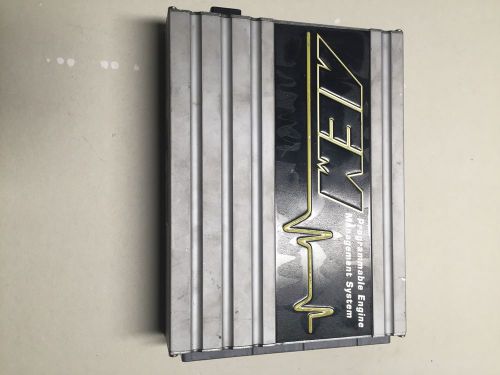
Aem Series 1 Ems Ecu 30-1052 Stand Alone Engine Management System Honda S2000 on 2040-parts.com
Los Angeles, California, United States
|
Brand:AEM
Warranty:No
Manufacturer Part Number:30-1052
Country/Region of Manufacture:United States
Surface Finish:some scratches on the case
Electronics for Sale
Geneva motor show (2013) A-Z news and reviewsWed, 06 Mar 2013Welcome to CAR's guide to the 2013 Geneva motor show. We're bringing you news of every launch as it happens (including full details on the new 950bhp Ferrari LaFerrari and 903bhp McLaren P1) and we've gathered together all our stories on the most important new cars in this handy A-Z guide. Alfa Romeo 4CAlfa's gorgeous £50k Porsche Cayman rival Alpina BMW B3 BiTurboBMW tuner builds a turbocharged straight-six M3 Aston Martin Rapide S Aston facelifts its elegant limo, gives it extra 80bhp Aston Martin Vanquish CentenarySpecial 565bhp Vanquish celebrates Aston's 100th birthday Audi S3 SportbackAudi takes on the hot hatch crowd with 296bhp Quattro Audi RS Q3 It's the first ever SUV from Audi's RS tuning arm Bentley Continental Flying SpurBentley's fastest ever four-door packs 616bhp Bertone RapideEver thought your Aston Rapide needed more boot space? Try this... Gleagle McCar ConceptWed, 06 Jun 2012The Gleagle McCar concept is a small EV the automaker calls the “Family Specialist”, due to its 3,700mm length combined with creative family functions within the interior. The McCar, developed by Nova design in Shanghai, retains the established brand identity through the concept's DRG, with a black background featuring four chrome strips, which flows into the integrated LED headlamps. Strong, powerful feature lines flow across the concept's sides into the tail to combine with the slender tail lamps. Porsche Macan teased on video again – and a glimpse of the interiorThu, 14 Nov 2013A glimpse of the new Porsche Macan’s interior. There won’t be very much we don’t know about the new Porsche Macan – the ‘baby’ Cayenne – by the time it’s revealed next week. We’ve already had teases for the Macan in both photos and video, and Porsche has released yet another teaser video today of the new Macan on the track at Weissach . 2040Parts.com © 2012-2025. All Rights Reserved. Designated trademarks and brands are the property of their respective owners. Use of this Web site constitutes acceptance of the 2040Parts User Agreement and Privacy Policy. 0.027 s, 12296 u |
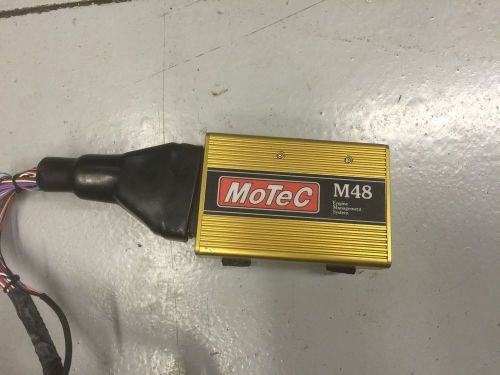 Motec m48 ecu
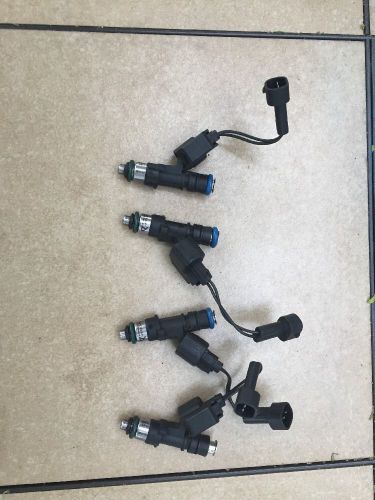 Injector dynamics id1000 with adapters
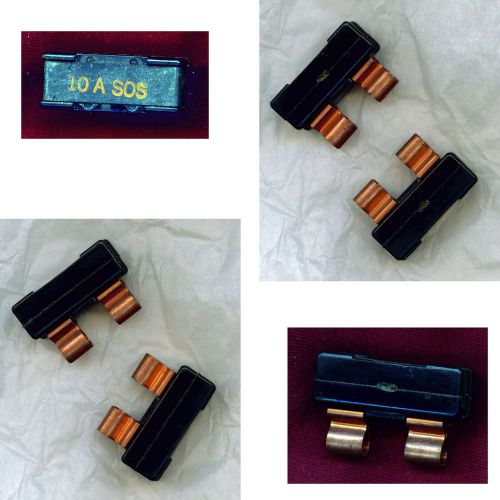 2 12 volt 10 amp automotive circuit breakers from the early 1980s "10 a sos"
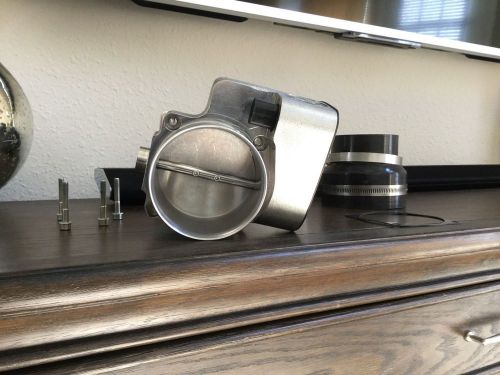 Arrington 2005-2010 dodge hemi challenger charger 5.7 6.1l 90mm throttle body
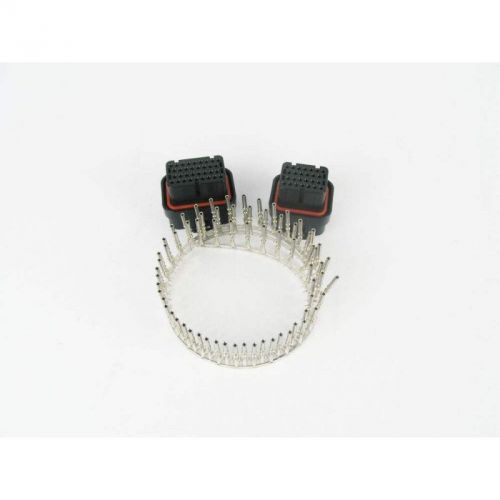 Motec 60 pin connector kit
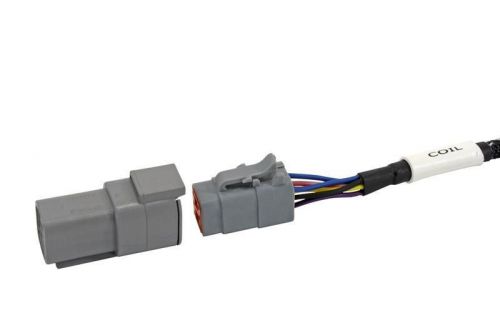 Aem infinity honda coil plug-n-play harness 30-3501-00